Showing posts with label dinner. Show all posts

Tuesday, June 10, 2014

Fruit and Seed Chicken Salad


This recipe is not your typical onion and celery chicken salad. It is adapted from my mama's famous cream cheese-based chicken salad, which is heavenly. She usually serves it warm, either by itself or on a croissant roll. Her original recipe includes grapes and pecans or walnuts. My husband is allergic to nuts, so I modified it to have toasted seeds instead for the same yummy crunch. I also tweaked it to make it a little bit more health friendly ;) 

You can make this with any kind of fruit - diced pineapple, chopped apples, cranberries, cherries, etc. Mix and match as you please. The goal is to be healthy and sweet and delicious, all at once! 

Ingredients:

These amounts are mostly guestimates. We usually just make it to taste. Start off with a little, and keep adding until it feels right.

- 2 lb rotisserie chicken, hand shredded (you can also cook 1-2 lbs of chicken meat yourself, but a rotisserie chicken makes the process a lot easier)
- 1/2 block of cream cheese
- 1/4 cup olive oil based mayonnaise
- 1/2-3/4 cup chopped fruit (I used grapes this time)
- 1/4 cup mixed sunflower and pumpkin seeds, toasted
- 2 tbsp chia seeds
- 1 tsp thyme 
- 1/4 tsp salt

Directions:

Set out block of cream cheese to soften. Hand shred your chicken into small pieces and put in a large mixing bowl. Put mixed seeds into a frying pan over medium-high heat. Mix until they start to sizzle and brown, and then pour over chicken. Add chopped fruit. In a separate bowl, mix cream cheese and mayonnaise until smooth. You want more cream cheese than mayo - the mayo just helps it all "hold together." Mix cream cheese and mayo into your large bowl with chicken and toppings. Add thyme and salt, and then mix thoroughly. Voila! 

Serve in a croissant, in a lettuce wrap, over cantaloupe, or by itself for light lunch or snack. 

Hugs, 
Madi

Monday, June 9, 2014

Glazed Beets n' Sweets


Good morning,

Beets have quickly become one of my favorite tubers to cook and play with. They are tangy, sweet, starchy, and have such a gorgeous ruby-red color. They look like jewels once you peel them and start chopping.

Their juices are fuchsia pink, and can be used for a variety of things. You can use it to dye tablecloths or other fabric, temporarily color your hair, or make it into cheek stain or lip balm.

It's a very pretty hue for summer. I think I might make some lip balm soon.

My favorite way to use beets is to roast them with other vegetables, usually another kind of starch. Sweet potatoes and beets go especially well together.

Let me introduce you to my glazed beets and sweets recipe.

Ingredients:

- 1-2 sweet potatoes, peeled and cubed
- 4 beets, peeled and cubed
- 2 tbsp olive oil
- salt
- pepper
- thyme
- 2-3 tbsp sweet vinegar - I used a delicious blackberry ginger vinegar from Olive the Above, but a raspberry or other berry vinegar would work great as well

Directions:


Preheat oven to 425 F. While it's heating up, peel and chop your sweet potatoes and beets. 


Look how pretty the beets are. Toss it all in a pan with olive oil, salt and pepper, and a few sprigs of thyme. Bake for approximately 10-15 minutes, and then add your berry vinegar over the top. Put back in oven for another 10 minutes or so, or until the beets are fork tender. The vinegar will have turned into a nice glaze.


All done! Serve with protein of your choice. I think this will be especially good in the fall with pork chops. 

Have a wonderful week! 

Madi

Thursday, April 17, 2014

Simple Indian Curry

Hey everyone!


I hope you are having a fabulous Spring. The blooming trees, sunshine, and happy vibes have been everywhere. I love it! The only downside is the outrageous pollen count - it's the curse of the South. My husband's and my allergies have been going crazy. Claritin and Niquil are our good friends for this week ;) They can really work magic. 

Today I have two recipes for you. Both of them are delicious Indian curry dishes. We adore Indian food, especially when it is authentic and very spicy. We are fortunate to live close to several great Indian restaurants. Our favorites are Zyka, Chai Pani, and Bhojanic. 

Zyka is one of the most recommended Indian places in Atlanta, and it is literally two minutes away from our apartment complex. You order menu items a la carte at the counter and then sit down in the banquet room. We usually get about three meats (the butter chicken and aachar gosht are amazing), some naan, and the saffron rice. Then we finish it off with matka kulfi, which is an Indian ice cream flavored with cardamom. This place is extremely authentic and the food always tastes great, which makes up for a somewhat lacking atmosphere. 

Chai Pani is known for its Indian "street food," which includes items such as sloppy jai (sloppy joe-like lamb hash on buns), bombay chili cheese fries, chaat, puri (flour crisps stuffed with spices and vegetables), and various wraps. They also have a vegetable and non-vegetable thali (a combination meal), which comes with the special curry for that day, rice, flatbread, a couple of additional curries, and a dessert. We usually go that route, and its awesome. Sometimes we get a hot chai or mango lassi to accompany the meal. Mango lassi is a mango yogurt drink that will do wonders to cool your tongue if the spices get the better of you. Chai Pani is a great place to go with friends if you're looking for a hipster atmosphere and interesting cocktails.

Bhojanic is the fanciest of the three. It's dining area is very nicely decorated and the wait staff has been very professional and helpful. I was a little concerned on our first visit that it wouldn't taste as authentic - but I was wrong! It was extremely delicious. They have a mixture of tapas-type items as well as entrees. I recommend checking out their daily specials or doing a thali where you can choose two meats and vegetable dish. 

If you live in Atlanta, check one (or all) of those restaurants out! Please let me know what you think. Or, if you have any other suggestions, I would love to hear those as well. 


Now on to the recipes!

I have tried and tried to make my Indian dishes at home taste as good as they do at the aforementioned places. I still haven't quite nailed it, but these two are as close as I've gotten, and they are quite good. I apologize for the lack of a decent picture for the vegetable curry. We were so eager to eat that I didn't want to stop and take pictures ;) 


Chicken Curry

[Serves 4
Prep Time: 10 minutes
Cook Time: 30 minutes]

FYI, "curry" is not a great description. It is not a reference to yellow curry powder, which is rarely used in authentic foods. Curry simply denotes a wide variety of heavily spiced dishes. You can get a thai or Indian "curry," and they will be entirely different. Even within a specific region the dishes will have hundreds of variations. I am not sure the best way to name this one, so "curry" it is! 

Ingredients: 

- 3 tbsp olive or coconut oil
- 3 cardamom pods, lightly bruised
- 2 whole cloves
- 1 cinnamon stick
- 1 bay leaf
- 1 large chopped onion (of your choice, the original recipe specified red, but I only had yellow)
- 1 tbsp fresh grated ginger
- 1.5 tsp garlic, minced
- 2 medium tomatoes, fine chopped
- 1-2 tsp red chili powder
- 1 tsp garam masala
- 1/4 tsp ground turmeric
- 1 tbsp ground coriander
- salt
- 2 lbs boneless, skinless chicken, sliced or in chunks 
- 1/2 cup water
- cilantro or yogurt for garnish


Directions:

Heat the oil in a large skillet on medium-high heat. Add the cardamom pods, cloves, cinnamon, and bay leaf. Once they begin to sizzle, add the onion, ginger, and garlic. Cook, stirring occasionally, until the onions are well browned. 

Stir in the tomatoes. Cook the mixture until it becomes quite dry. It will hold together really well and the oil will separate from the sides. 

Add the chili powder, garam masala, turmeric, and coriander. Allow to cook for 1-2 minutes. It will be very fragrant. At this point, if you want to be especially authentic, you can take it all out and put it in a blender or food processor and blend it into a paste. I was ready to eat, so I skipped that step.

Add the chicken and cook until brown on all sides. Then add your half cup of water and allow it to simmer until done. If it becomes too dry, feel free to add more water. 

Serve hot, over rice or naan. Top with cilantro and yogurt. 


Yum yum!


Vegetable Curry

[Serves 4
Prep Time: 10 minutes
Cook Time: 45 minutes]

This one is a winner, folks. It is so, so, so good (and good for you!). Next time I make it, I think I'll add some chicken for extra protein. I only wish I had good pictures to share with you.

Original recipe came from here. I followed some suggestions and nearly doubled the spices. You can control the heat based on how much cayenne you use. The others increase the flavor in a marvelous way, so don't you dare half them!

Ingredients:

- Olive or coconut oil
- 1 large yellow onion, diced
- 4-6 cloves garlic, minced
- 2 inch piece ginger, grated (or 1 tbsp ground dried ginger)
- 2 tbsp ground coriander
- 3 tsp ground cumin
- 1.5 tsp ground turmeric 
- 1-2 tsp cayenne
- fresh hot pepper, diced (optional)
- 1 tbsp tomato paste
- 2 cups vegetable or chicken broth
- 1 cup coconut milk
- 1 cinnamon stick
- salt and pepper
- 1 small cauliflower broken into florets, or approximately 3 cups (I used frozen)
- 1 lb or 3 cups sweet potatoes, chopped
- 2 medium tomatoes, diced (or 1 can)
- 3-4 carrots, chopped
- 1 can chickpeas
- 4 lightly packed cups of greens (I used kale)
- lime juice and cilantro for garnish

Directions:

In a 5 or 6 quart dutch oven pot (I used my cast iron dutch oven - it's lovely!), heat the oil on medium high heat. Add the onions and cook until lightly browned. Add the garlic and ginger and cook for 1-2 minutes. f you like things pretty spicy and want to put in a hot pepper, do so now. Then add your coriander, cumin, turmeric, and cayenne. I

Stir until fragrant and toasty, about 1 minute. Add in the tomato paste, broth, coconut milk, cinnamon stick, and a few dashes of salt and pepper. Bring to a boil, then reduce the heat and simmer 8-10 minutes. 

Add the cauliflower, sweet potatoes, tomatoes, and carrots. Return to a boil, then reduce again and simmer for 20-30 minutes, or until the potatoes are tender. 

Stir in your chickpeas, greens, and lime juice, and cook until the greens are wilted. It will probably take 3-5 minutes. 

Serve hot over basmati rice, or eat it as a stew. 

Super quick photo before I dug in!

What kind of recipes do you want to see more of? Let me know. 

Madi

Saturday, March 29, 2014

High Heat Eye of Round Roast


My sweet, beautiful mom came to visit me earlier this week. She hates driving in Atlanta, but she braved the traffic to come see my apartment again and take me out to lunch. After we ate, I took her to the Decatur Square and one of my favorite coffee shops, the Cafe at Cakes & Ale. After coffee and snacking, she was ready to get going and beat the traffic to return home. She asked me if there was anywhere else I would like to go or show her, but I couldn't think of anything. 


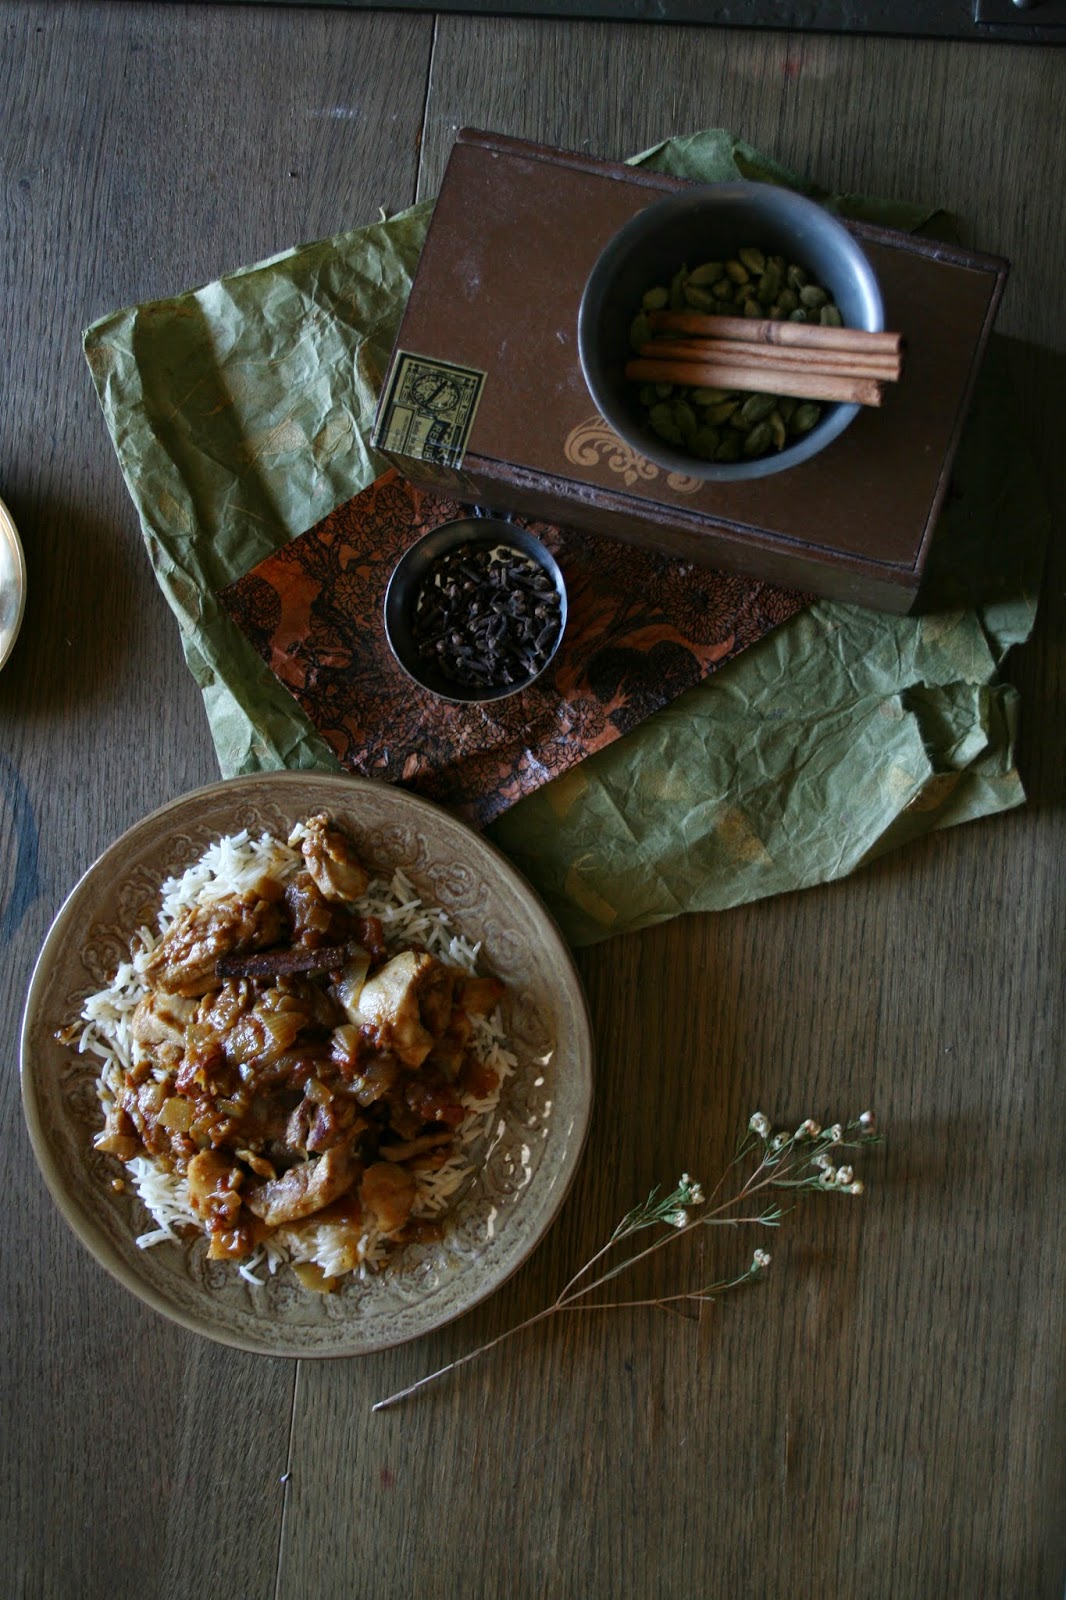
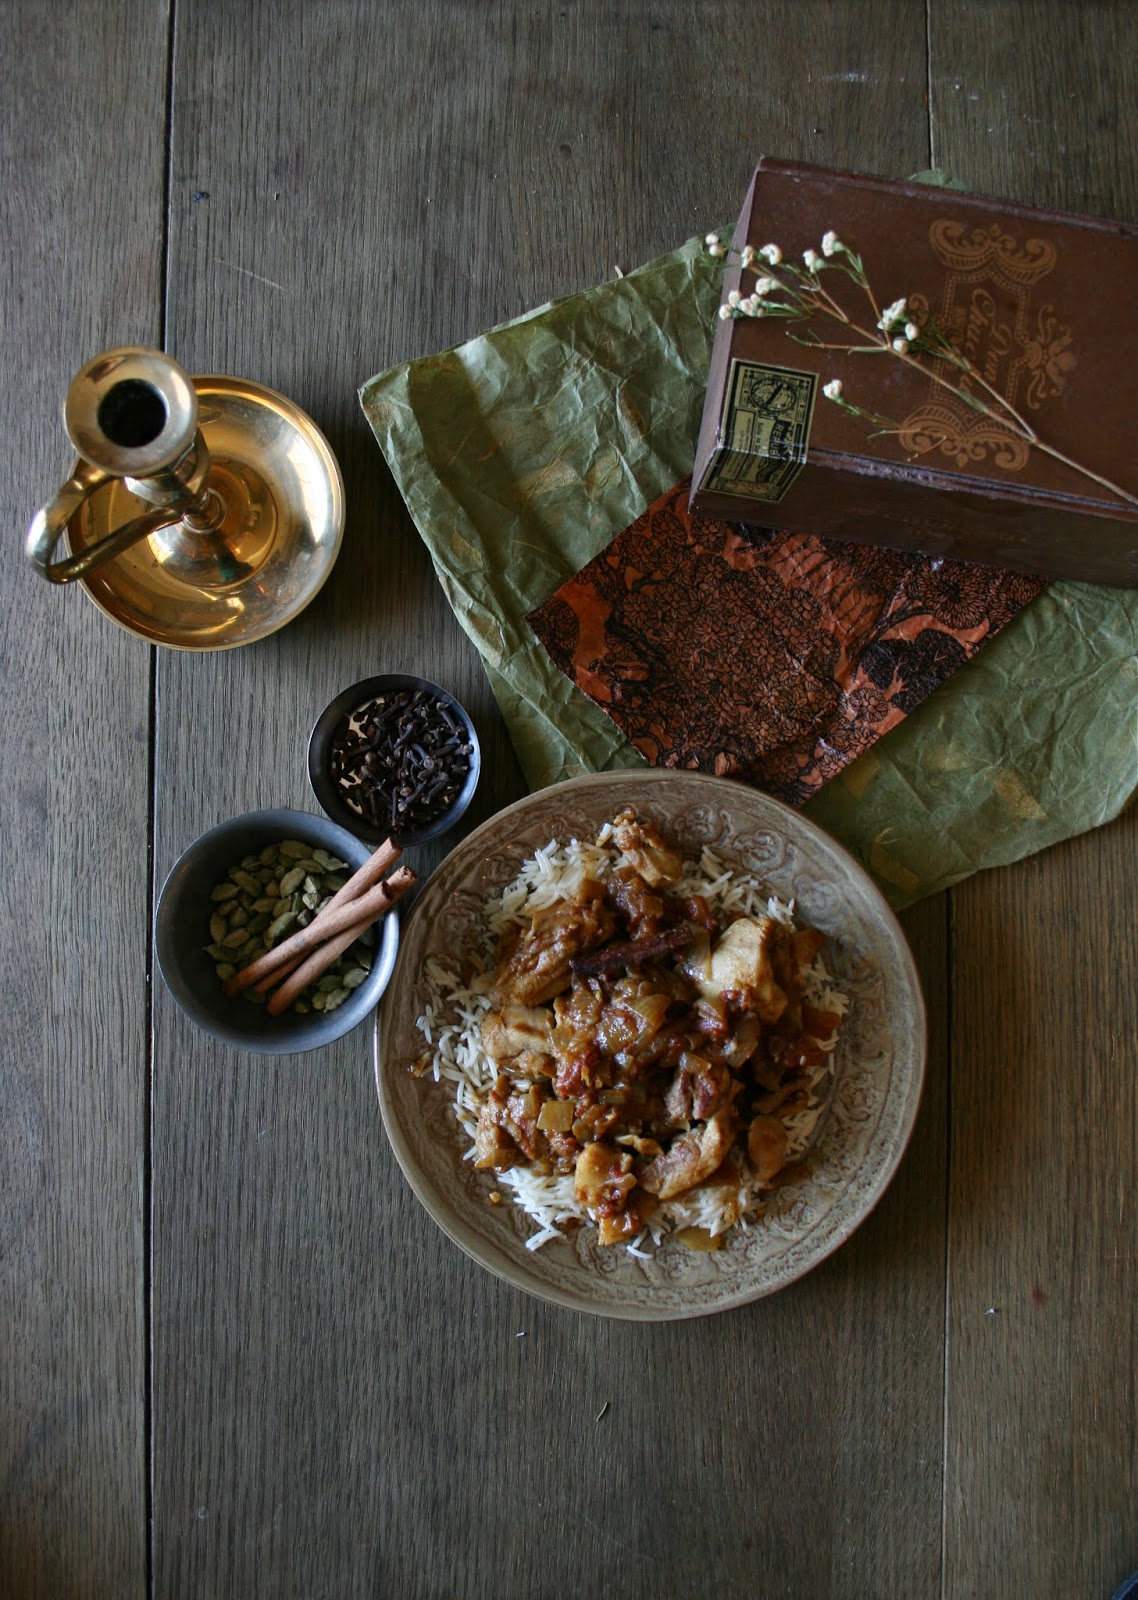
On our way back to my apartment, I suddenly had an inclination to take her to the Dekalb International Farmers Market. If you live around Atlanta and you've never been, you need to go check it out! It is massive. It's an indoor market with dry goods, wine, spices, dairy, and enormous meat, seafood, and produce sections. It has some really unique foods at very decent prices. You could spend hours just looking around. I was worried she wouldn't like it because of the crowd and noise, but she thought it was a neat place. As we were walking by the beef, she mentioned that she always loved when my grandma would make an eye of round roast. 

This is my grandmother and grandfather with one of their first cars.
Yesterday was my grandma's birthday, and I decided to try out this eye of round roast thing. Looking online, people seemed to have lots of complaints about this cut of meat. It's usually tough, chewy, and a gamble to cook with. But I knew if my mom and grandma loved it, there had to be a way to make it right. Plus, it is a very cheap cut of meat, which is essential for our newlywed budget.

As I did my research, I found quite a few praises for this unusual cooking method. The idea is that you cook the roast on very high heat for a short amount of time, which sears the outside and locks in the juices. Then you let it sit on little to no heat for a prolonged period (1-2.5 hours depending on the size of your cut). It sounded super sketch, but I couldn't ignore the positive reviews. I tried out this method, somewhat dubiously, and was very pleased with how it turned out. It was juicy, flavorful, and although not as tender as prime rib or another high quality beef, it was surprisingly easy to chew. We cooked ours to a good medium rare. Yum. 


High-Heat Eye of Round Roast

Ingredients:

- eye of round (2-3 lbs is best)
- 1-2 tbsp olive oil 
- salt and pepper
- 1 tbsp minced garlic
- seasoning rub of your choice (I recommend Borsari seasoned salt)

Directions:

Preheat your oven to 500 F. 


Take your beef out of the fridge. Rinse it and pat it dry with some paper towels. Lightly pat some olive oil over its surface, and then rub in your spices. I used cracked black pepper, minced garlic, and Borsari. Borsari is a seasoned salt you can get at Whole Foods by the meat section. It has a mix of sea salt, garlic, basil, rosemary, and nutmeg. It is awesome on beef, chicken, vegetables, or just about anything. They also make a ginger one that is good for seafood. 


Allow your beef to rest on the counter for approximately 20-30 minutes, until it is closer to room temp


Place your beef in a roasting pan, baking dish, or cast iron. A roasting pan would make it easier to catch the drippings and make au jus, but the others work just fine, especially if you want to add in some potatoes or veggies. I surrounded mine with fingerling potatoes in olive oil, salt, and fresh rosemary.


Lower your oven temp to 475 F. 

Put your beef into the oven and allow to cook at this high heat for approx. 7 minutes per pound. I had a tiny roast (1.3 lbs), just big enough for my husband and myself. I only left it at this temperature for about 8-9 minutes. 2 lbs = 14 minutes, 3 lbs = 21 minutes, etc. 

This is the important part. Once your roast has been at the high heat for its designated time, turn down your temperature. Most would say to completely turn it off. It really depends on your stove. Electric tends to retain heat much better than gas, so for electrics like mine, I would just turn it off. You can play it safe and leave it on 170-200 F if you are nervous. For gas, I would definitely keep it at 200 F. 

Now, even more important - do NOT open your stove during this time! You want it to keep the heat and slow cook your beef. Don't let that air escape! 

Allow your beef to cook at the low temp for at least 30 minutes per pound. Most sites that supported this method said to leave it in for a total of 2.5 hours undisturbed. People have had really good results with this. However, if your roast is teensy like mine, that amount of time could very well overcook it. I ended up leaving mine in for about 40 minutes and it came out perfectly. 

Check your internal temperature with an instant read thermometer. Here is a scale to help you decide if you need more time:

120 to 125 F = Rare
130 to 140 F = Medium Rare
145 to 150 F = Medium


Take your roast out and let it rest for 10 minutes. You can make an au jus during this time if you wish. I made some with the pan drippings, red wine, broth, and garlic.

Slice your beef. I think it would be awesome thin-sliced on a sandwich! You can also serve it with some hearty whole grain, like this amazing loaf of sprouted wheat from my favorite bakery, La Calavera:


Have fun!
Madi

PS - Here are some additional sources on this cooking method:

Friday, March 21, 2014

Paprika Parsnips and the "Perfect" Greens

In efforts to really kick off this blog, I am trying to do a lot of posts these first couple of weeks. It's funny how many ideas have come to mind once I started. I am looking forward to sharing more bits of my life and joys with you :)

This evening I am giving two great recipes for vegetables. You can make them as sides, or if you just want something light/vegetarian for dinner, they can serve as a meal to themselves. They are two of our go-to items on nights when we aren't experimenting. They are easy and downright delicious. 

First up is Paprika Parsnips and Carrots


Only the parsnips are shown in these pictures. I left out the carrots when I made them for dinner last night. It is great with the parsnips alone, but I think I like it best when carrots are in the mix. 

Ingredients: 

- 3 tbsp olive oil
- 3-4 parsnips, peeled and cut into fry-size wedges
- 4 carrots, peeled and cut into fry-size wedges 
- 1 tsp cayenne pepper
- 1-2 tbsp smoked or sweet paprika
- 1 tbsp fresh oregano (I was growing some spicy oregano that went well with this dish)
- salt and pepper

Directions:

- Peel your parsnips and carrots. Cut off the ends and chop into small wedges or the typical discs. Either way works well. 


- Heat olive oil in large skillet. Toss the parsnips and carrots in the oil until coated. 
- Add cayenne pepper, paprika, and then a dash of salt and pepper. Toss. Add oregano if you have it. 


- Cover and cook on medium heat, stirring occasionally, until soft (approximately 15 minutes). 
- If you like it browned on the edges, which I do, turn up the heat and cook for 5 minutes longer on high heat. 


All done. Super easy. Super good.

Next up is our "Perfect" Greens.

I know, perfect seems like an exaggeration. Maybe it is. But let me just tell you that Joseph and I love our greens, and this is one of the best ways we've found to cook them. This recipe is great for collards, mustard, kale, chard, or just about any other green that sautés well. 


Image is shown with kale as the primary green.
We found it when we went to a nearby restaurant called no. 246 in Decatur, GA. We are beyond blessed to live two miles from downtown Decatur and the Decatur square, the home of many, many exceptional restaurants and bars. If you're from Georgia, you may have heard of Paper Planes, the Brick Store Pub, Iberian Pig, etc. I'm a huge foodie. It gives me so much pleasure to try these places out! 

To make a long story short, we were at 246 and we ordered a special side they were serving that night. I think it was collards and chard. It was something and chard, at least. They brought it out with our dinner and we fell in love. It was so flavorful and rich. The waitress talked to the chef for us and found out it was fairly simple. It was cooked in almost equal parts olive oil, butter, broth, and white wine. Needless to say, we tried to recreate this meal at home. We tend to use a little more broth than the original because it's cheaper than the other ingredients. It is still pretty tasty. Here is my guestimate at the measurements we use on a regular basis:

Ingredients:

- 1/4 cup olive oil
- 1/4 cup butter (grass fed, such as Kerrygold, is best)
- 2 cups chicken or vegetable broth
- 1/2 cup dry white wine
- 1 medium onion, chopped
- 8-10 cups greens of your choice
- 1 tsp cayenne pepper
- 1 tsp red pepper flakes 
- 2-3 tsp salt
- ground black pepper

Directions:


- Loosely chop a medium sweet onion. It doesn't need to be perfect; I usually leave it in large slivers for this recipe.


- Heat olive oil in large saucepan on medium heat. Add the onions and simmer until translucent. 
- Chop up your greens, if needed. For kale, I try to separate out most of the stalky bits.


- Add the butter to your saucepan. Yum yum. Butter makes everything taste good. 
- Add half your greens to the pot. Mix and allow them to shrink down a bit before you add the broth. 
- Pour in your broth, mix, then add the remainder of your greens. If there is not enough room in the pot, wait until they have simmered for a bit and shrunk down. 
- Sprinkle in the salt, pepper, cayenne, and red pepper flakes. I enjoy using a special kind of seasoned salt called Borsari. You can get it at the meat section of Whole Foods. It adds fantastic flavor, especially when rubbed into beef or chicken. 
- Add 1/2 cup white wine. It's okay to drink some at this time. I always do ;)
- Simmer until fully cooked, approximately 10-15 minutes. 


Enjoy!

Best wishes for great dinners,
Madi